Up until a few weeks ago, if I ever caught one of my workshop participants bracketing exposures, I’d smack their hand and tut-tut at them. “There’s NO need to bracket, your camera can easily capture the dynamic range of this scene in a single shot,” I’d tell them time and time again.
For many years I’ve felt like bracketing was a lingering vestige from the digital photography of a decade ago. In that era, you almost always HAD to bracket (or use GND filters) in order to capture the full dynamic range of the scene in front of you. Bracketing was a great tool for overcoming the limits of our cameras. However, this deficiency in camera technology also gave rise to a “spray and pray” approach to exposure for many photographers. Rather than try to understand metering or the histogram, it was far easier to simply shoot 5, 7, or even 9 different exposures of every scene. Because storage was cheap even then, one could simply overshoot and pick the best single exposure later. Or if the dynamic range of the scene was too extreme, to combine the exposures through blending or HDR.
But as camera technology has advanced to the point where every camera contains a sensor that captures 14 or even 15 stops of light, it’s rare to encounter a scene that can’t be fully captured, from the darkest darks to the brightest brights, in a single exposure. Even when shooting directly into the sun it’s possible to create an exposure that’s full of detail everywhere except the sun itself. All you have to do is underexpose like crazy then brighten the image in post processing. Easy peasy.

That’s why for me, bracketing has seemed like an unnecessary added step, borne more out of habit or a lack of technical understanding, rather than done for a specific purpose. Hence my consistent chiding over the past 10 years: YOU DON’T NEED TO BRACKET.
A morning that changed my thinking
But on a chilly morning during my 2024 New Zealand Photo Tour, I had a conversation with one of my participants that began to change my way of thinking. This participant is a professional photographer; in fact he is the staff photographer for the LA Zoo, which requires him to shoot fast, at high ISOs, without a tripod. But for his landscape work during the tour he was much more deliberate: composing meticulously, shooting at low ISOs from a tripod, and bracketing every single shot, regardless of whether it was truly “necessary” or not.
When I asked him why, he responded that he was bracketing in order to blend the images later for as clean a final file as he could possibly get. If he decided to make a print, or if he wanted to push the post-processing hard, he simply wanted more data to work with. And he knew that even if his shadows or highlights weren’t clipped in a single exposure, he could still get better overall image quality by combining a couple of bracketed shots in which the exposure was optimized for each tonal range of the scene.
Now this kind of logical thinking made perfect sense to my engineering mind and I began to wonder: just how big of a difference does this actually make? I wanted an empirical, practical understanding, so I bracketed a few exposures of the scene to play with.
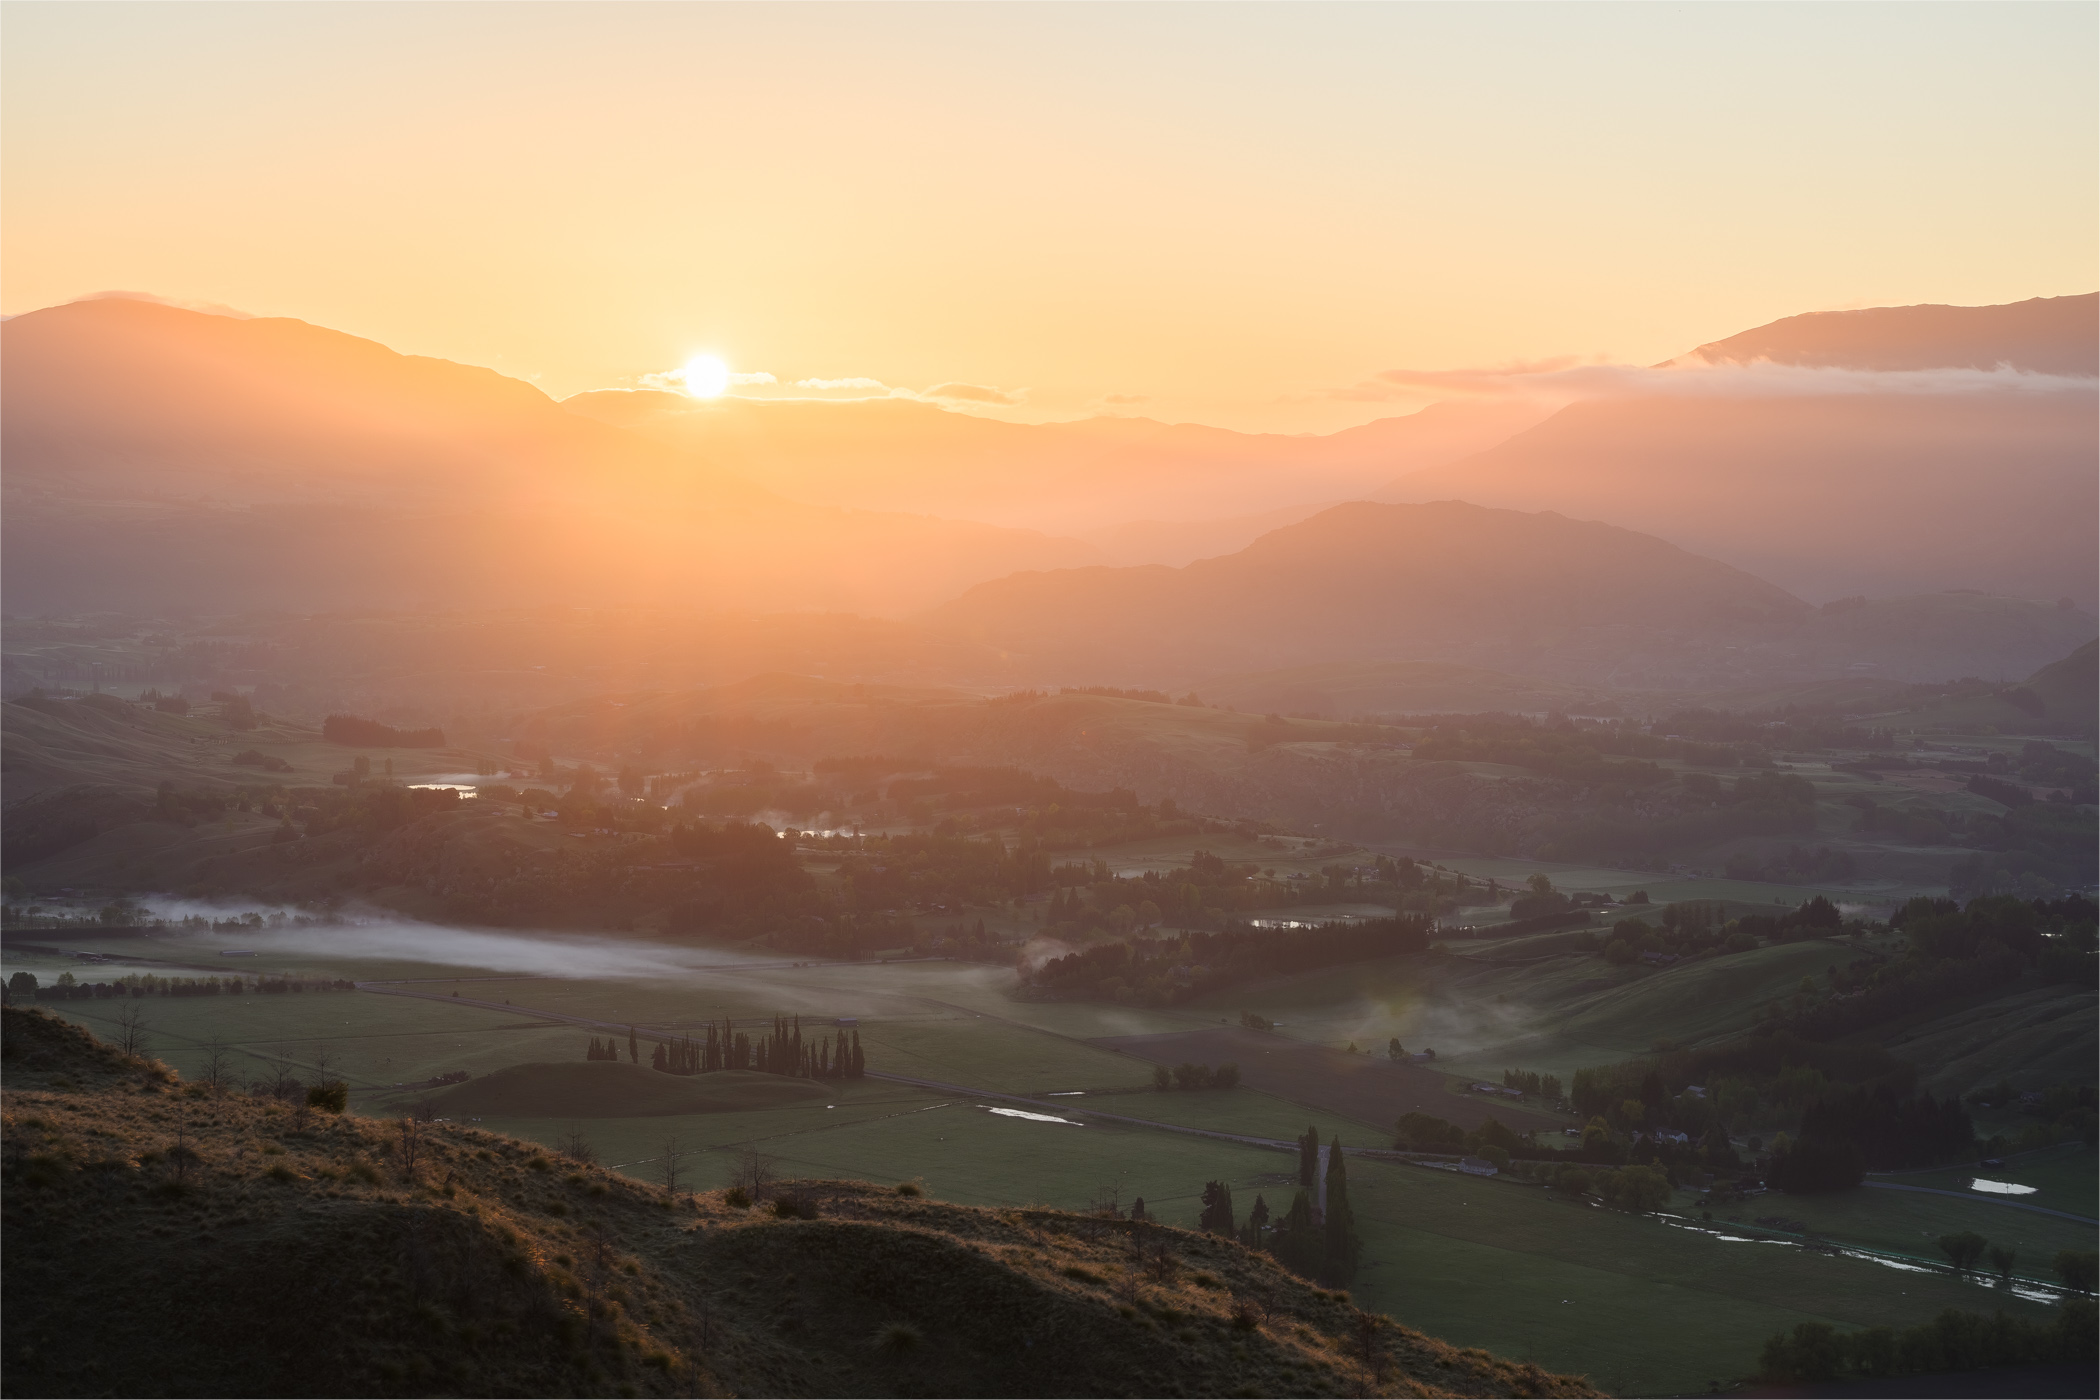
We were shooting a highly layered scene directly into the sun, so I started by shooting it the way I would shoot it as a single exposure, by underexposing it dramatically so that the only clipped highlights were in the sun itself. I also ensured the exposure wasn’t so dark that I would clip any shadows.

Then I shot two more exposures, +2 stops, and +4 stops.


I combined these three exposures in Lightroom using the Merge to HDR function (auto settings off). This created an HDR image right in the middle of three exposures:

To analyze the quality difference between the images, I processed my initial shot (the darkest one) as a standalone image. This included a 3-stop exposure increase, highlight reduction, a small shadow boost, a curves adjustment, a small saturation increase, and a high amount of sharpening (because I really wanted to see how much noise was present). Then I copied these exact adjustments to the HDR image (however the HDR required only a 1-stop exposure increase to have the same overall exposure). The original shot is here on the left, HDR on the right. You can see that at first glance they are virtually identical.

Zooming in to 100% though, I have to admit I was surprised by the difference in image quality, particularly in the shadows. The single shot was somewhat noisy, which I expected, given these shadows had been boosted more than three stops. Still, the noise level wasn’t anything that would stop me from posting on social media or my website, especially with a little noise reduction.
But the HDR image was on another level of clean altogether. In fact, I’d be tempted to say it’s nearly noise free, even without applying any kind of noise reduction. It also shows a massive improvement in fine detail. Check out the difference in these crops and pay attention to areas like the fields and the houses.
50% crop:


100% crop:


The difference is quite remarkable. If I was going to make a print of this photo or needed a full-res version for something, it’s clear that the HDR version is heads and shoulders above the single shot.
Of course, in the end, it makes perfect sense that a bracketed and blended would be cleaner than a single shot. But it wasn’t until I took the time to do this experiment that it actually stopped me in my tracks and made me reconsider my workflow and how I shoot.
My new workflow
So what does this mean for me going forward? It means that bracketing has become a very real part of my workflow. But don’t misunderstand. I still don’t think it’s necessary to shoot 7 exposures of every scene at -3, -2, -1, 0, +1, +2, +3 ev. Rather, I plan to use a considered approach to bracketing in order to minimize the “spray and pray” shooting while maximizing image quality at the same time.
Here are the specific bracketed exposures I”ll be shooting whenever possible/practical:
- A baseline shot, as bright as possible without blowing out any highlights.
- One additional brighter shot in order to get clean details in the darker parts of the frame. A +2 ev exposure is sufficient for most cases.
- For scenes with very high dynamic range, it’s worth shooting an additional shot at +4 ev.
And that’s it. By utilizing just a few bracketed photos you will be able to improve your image quality, particularly in the shadows, by an incredible amount.
But what about noise reduction?
You probably picked up on the fact that I didn’t use any noise reduction in these sample images. Of course this makes a big difference in your image quality as well, especially since modern denoising tools are incredible. But between bracketing/blending and using software denoising, which produces the best results? In the next article I am going to look at this question in order to suss out when you should bracket and when you should you noise reduction of any kind. Stay tuned.
—
Do you bracket your exposures? If no, why not? If yes, do you have a specific reason or is it just habit? Will this article change your approach to bracketing? Let me know your thoughts in the comments below.
Thanks for reading,
– Joshua
The post Why I Started Bracketing Exposures (in 2024) appeared first on Joshua Cripps Photography.